Proxy Settings
It is divided into 2 steps, 1. Import IP proxy in the background, 2. Use IP proxy on the client.
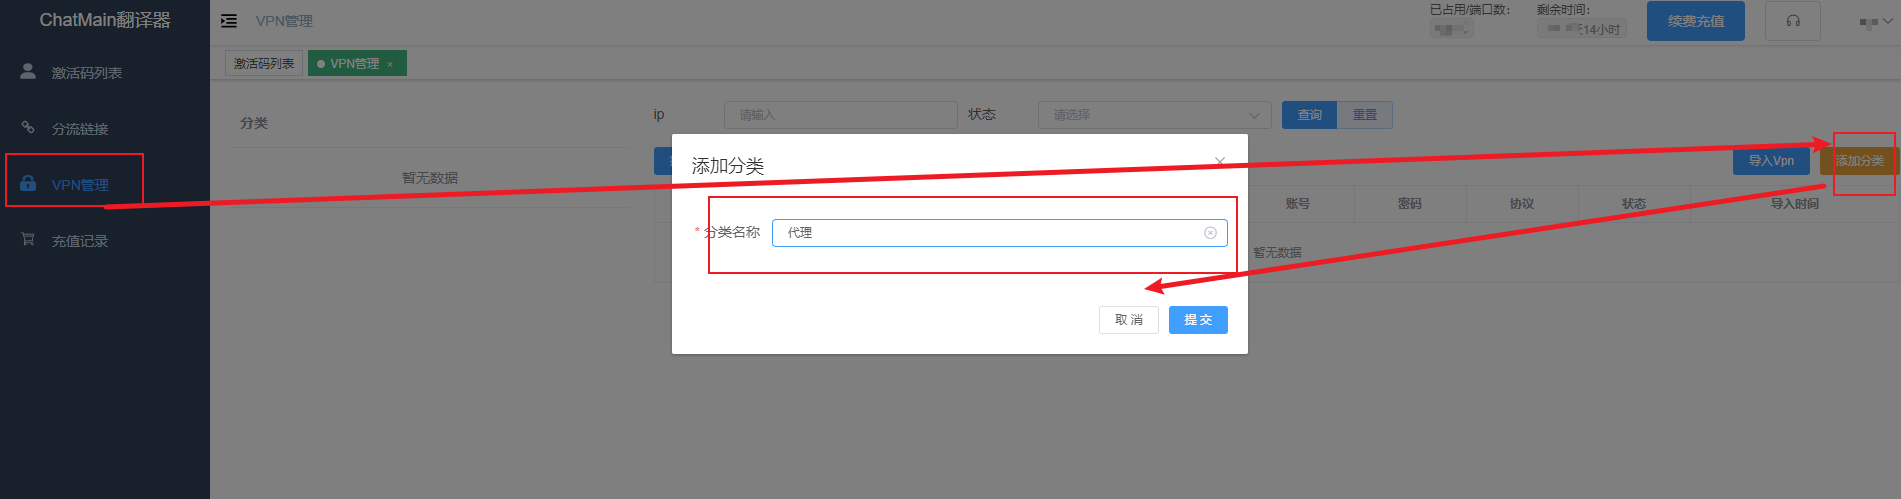
1. Import IP proxy in the background
First, we log in to the user center, click VPN management, and then create a category as shown in the figure
Then, we click the category we just created, and then click Import VPN on the right, and the import box will pop up, as shown in the figure:
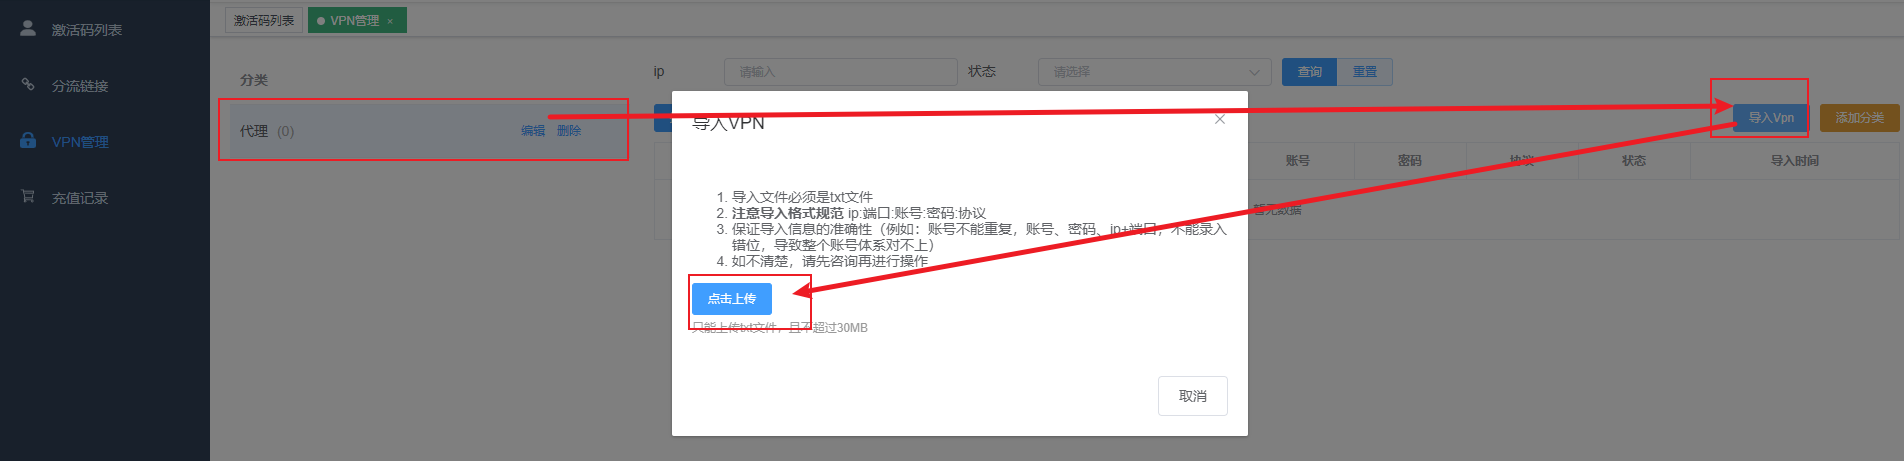
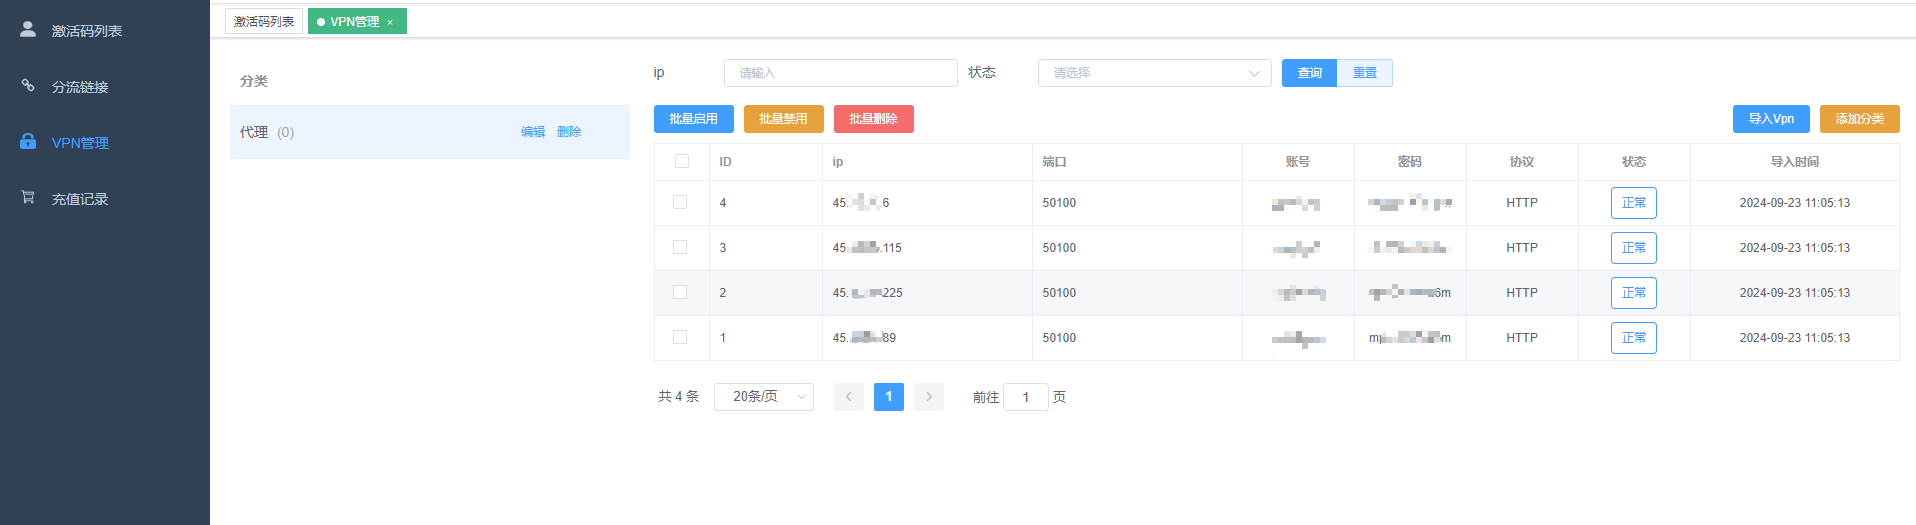
Here, we select the proxy IP of the local machine and then import it. The proxy IP format requirements are as follows:
ip:port:account:password:protocol
127.0.0.1:1080:user:pass:http
Currently only http protocol IP proxy is supported.
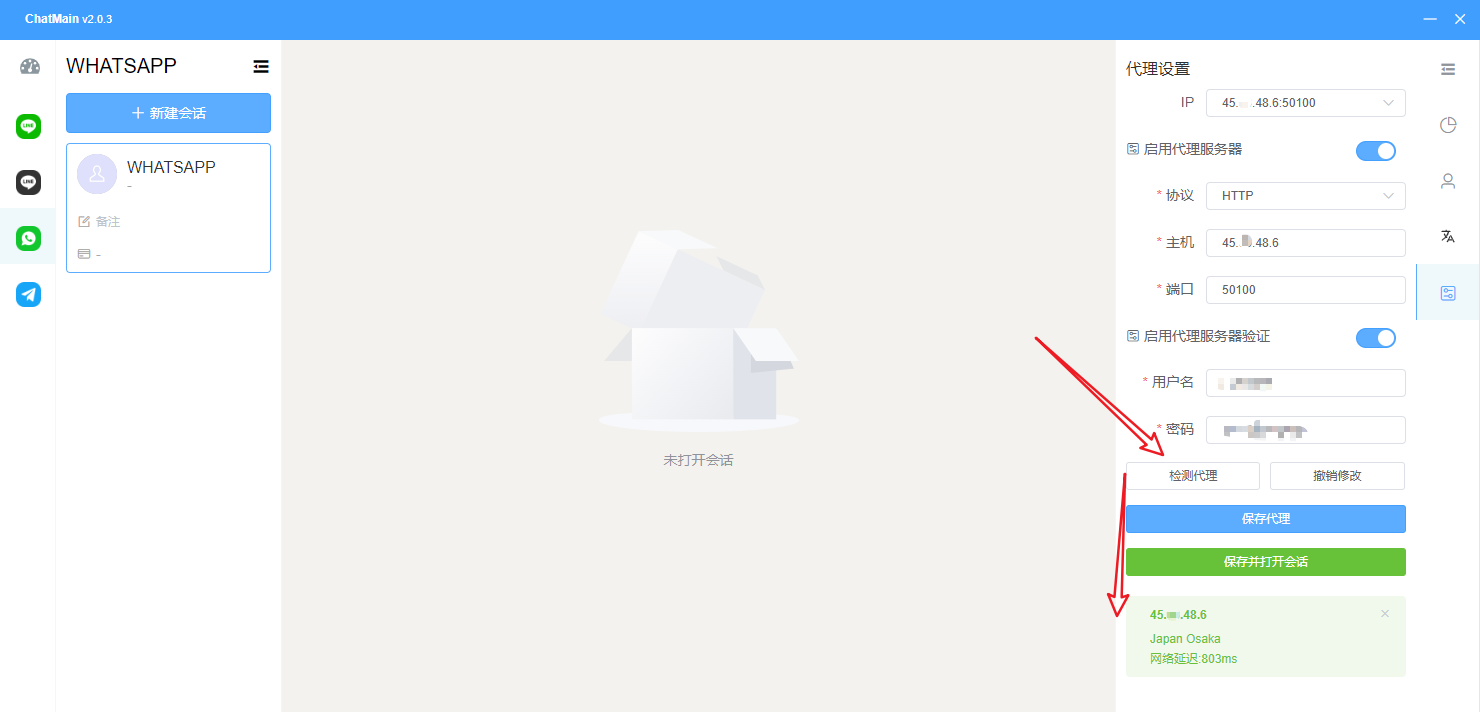
2. Client uses IP proxy
Open the client and click the proxy settings on the corresponding session. The proxy settings box will pop up on the right, as shown in the figure:
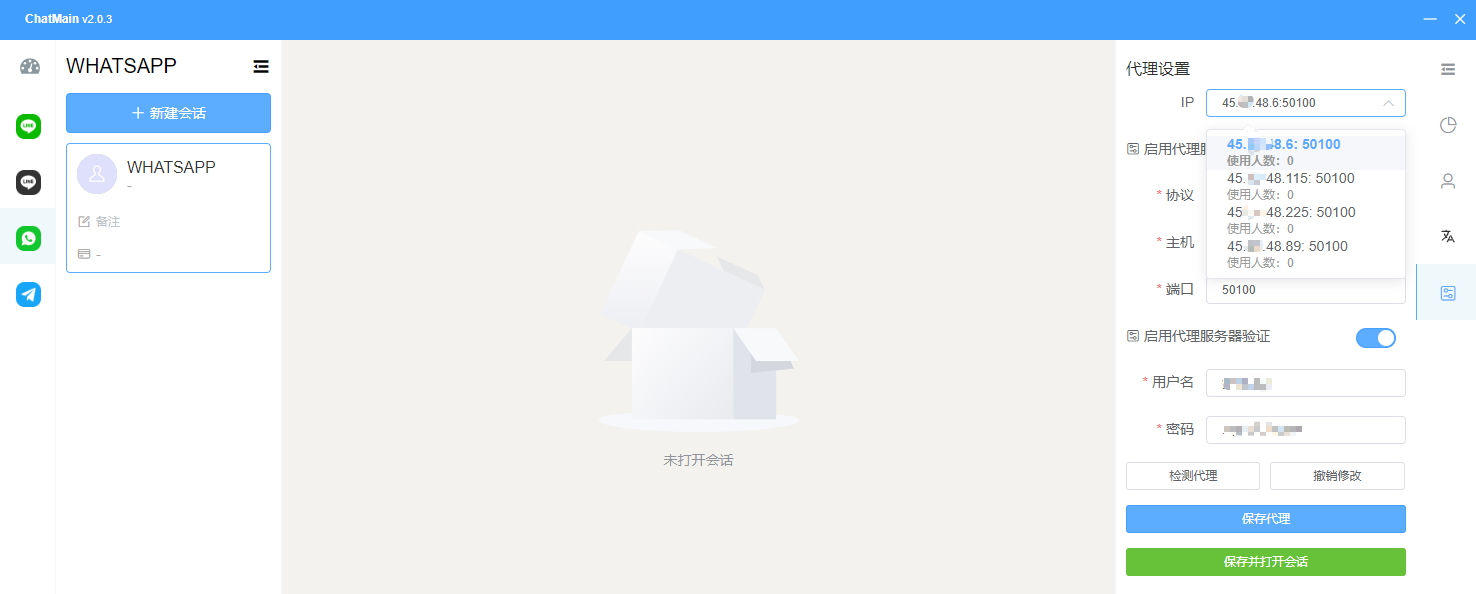
We check an IP proxy and click Save to use it.
Before using it, we can also click Proxy Test to test whether the proxy is available and what the current delay of the proxy is, as shown in the figure: